Opening an account with MCB Bank has never been easier. With the MCB e-account portal, you can open your Asan Digital and Asan Digital Remittance account securely in just a few steps. Here’s how:
Starting Your Application
- Go to eaccount.mcb.com.pk. Click on the ‘Apply’ button and then click on ‘Start a New Account Opening Application’.
- Read the Terms of Service, agree to them, and click on the ‘Continue’ button.
- Allow location sharing when prompted.
Verification Process
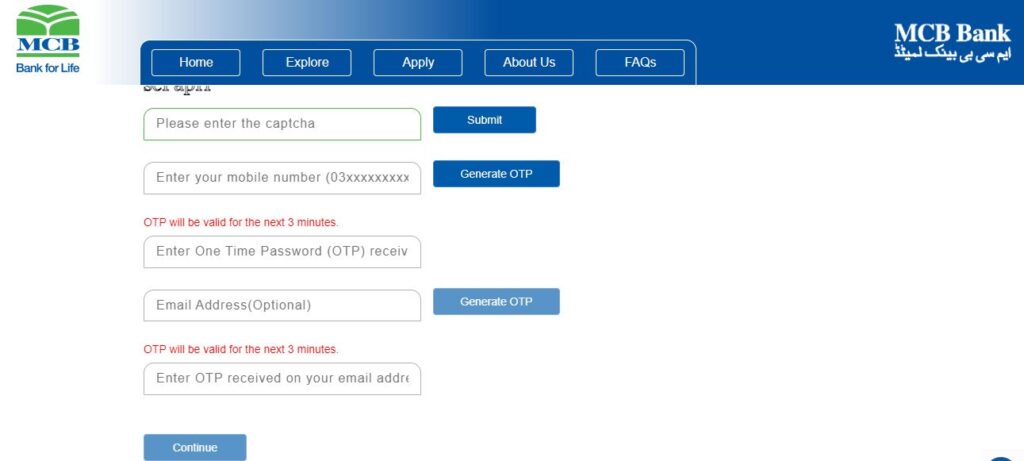
- Enter a valid mobile number and email address, then click on the ‘Generate’ button.
- Check your message and email inbox for a four-digit OTP (One-Time Password) provided by MCB Bank.
- Note: The OTP is case sensitive and needs to be entered exactly as mentioned in the text message/email.

Entering Personal Information
- In the next window, enter your name as per CNIC, mobile number registered against your name, CNIC number, CNIC issuance date, and Province.
- Select ‘Asan Digital Account’ or ‘Asan Digital Remittance Account’ option to proceed further.
Are you looking for a bank account for freelancers? Choose SadaPay as they have recently partnered with ApplePay. Read more about that here.
SadaPay Brings ApplePay To Pakistani Freelancers
Account Application Submission
For a successful Account Application submission, complete the following four steps:
1. Creating a Customer Profile
Fill in the required information, including your profession and occupational details. For Asan digital remittance account, you’ll also need to provide remitter details.
2. Customer Declarations
Read and consent to five declarations, including the FATCA/CRS declaration which requires certain fields to be duly filled.
3. Document Submission
Upload necessary documents. Make sure you use original documents when scanning and ensure they have clear readability of all your details.
- Mandatory requirements include a live photo and signature.
- You need to capture your live picture and upload a scanned copy or photo of your signature.
4. Review and Submission
Review all the information you’ve provided, choose the value-added services you want to avail with your account, such as SMS Transactional Alerts and E-statement alerts, and then submit your application.
Post-Submission
Once you’ve submitted your application, you can print your details for your records. Your bank account number will be issued to you via email after all the information and documents provided by you have been verified or validated.


Leave a Reply